

by The Real Clean Living
www.therealcleanliving.com
When we started the GAPS protocol for our boys’ food allergies, fermented foods weren’t optional. They were the entire backbone of the program. Bone broth, cultured vegetables, homemade yogurt, and kefir — all in heavy rotation, every single day. The whole point of GAPS is healing the gut lining, and you don’t do that without feeding the gut the bacteria it actually needs.
I’ll be honest with you: the first time I poured kefir into a glass and handed it to my kids, the looks I got were brutal. One sip. One face. “It’s sour.” “It’s weird.” “I don’t like the bubbles.” The other one was already trying to find somewhere to dump it.
And I had a choice. Either I was going to let kefir become a daily fight, or I was going to figure out how to make it a normal, easy part of their routine — without the drama. Spoiler: I figured it out. And these strategies have been part of how we eat ever since, long after the formal GAPS protocol ended.
If you’ve been wondering how to get your kids to drink kefir without making it a hill to die on every morning, this is the post I wish someone had handed me three years ago.
Why Kefir Is Worth the Effort
If you’ve never had it, kefir is essentially a drinkable, slightly fizzy, slightly tangy fermented milk. It’s like yogurt’s wilder cousin — same idea, but with way more bacterial diversity. A typical cup of kefir can contain 10 to 30+ different strains of beneficial bacteria and yeasts, compared to the 2-3 strains in most store-bought yogurts.
For growing kids, that matters because:
- Their gut is still building its microbial community — and what they consume in childhood shapes that microbiome for life
- Kefir delivers probiotics through food, not a pill they’ll forget to take
- It supports immune function, since 70-80% of the immune system lives in the gut
- It’s loaded with B vitamins, calcium, magnesium, and high-quality protein
- It’s been part of human diets for thousands of years — this is not a wellness trend
We give our boys kefir most mornings. Not as a treatment for anything specific anymore. Just as a daily input that does more for their gut than any supplement I could buy. And making it ourselves means it costs almost nothing.
Why Kids Push Back on Kefir (At First)
Let me say this clearly: if your kid hates kefir the first time they try it, they are not being dramatic. Plain kefir is genuinely an acquired taste.
It’s tangy. Slightly sour. A little fizzy. The texture is somewhere between drinkable yogurt and buttermilk. For a kid whose taste buds have been calibrated on sweet drinkable yogurt tubes and apple juice, plain kefir tastes wrong in every direction.
That doesn’t mean you give up. It means you stop trying to hand them a glass of plain kefir and expecting it to go well. There’s a smarter way.
7 Strategies That Actually Work
1. Start tiny
If you’ve never given your kid fermented foods before, do not start with a full glass of kefir. Start with a tablespoon mixed into something they already love. Build up from there over a week or two.
There’s a real reason for this: a sudden flood of probiotics into a gut that hasn’t had them can cause bloating, gas, or stomach upset. That’s called die-off, and it usually means the kefir is working — but it’s not a great first impression for a kid. Slow ramp wins.
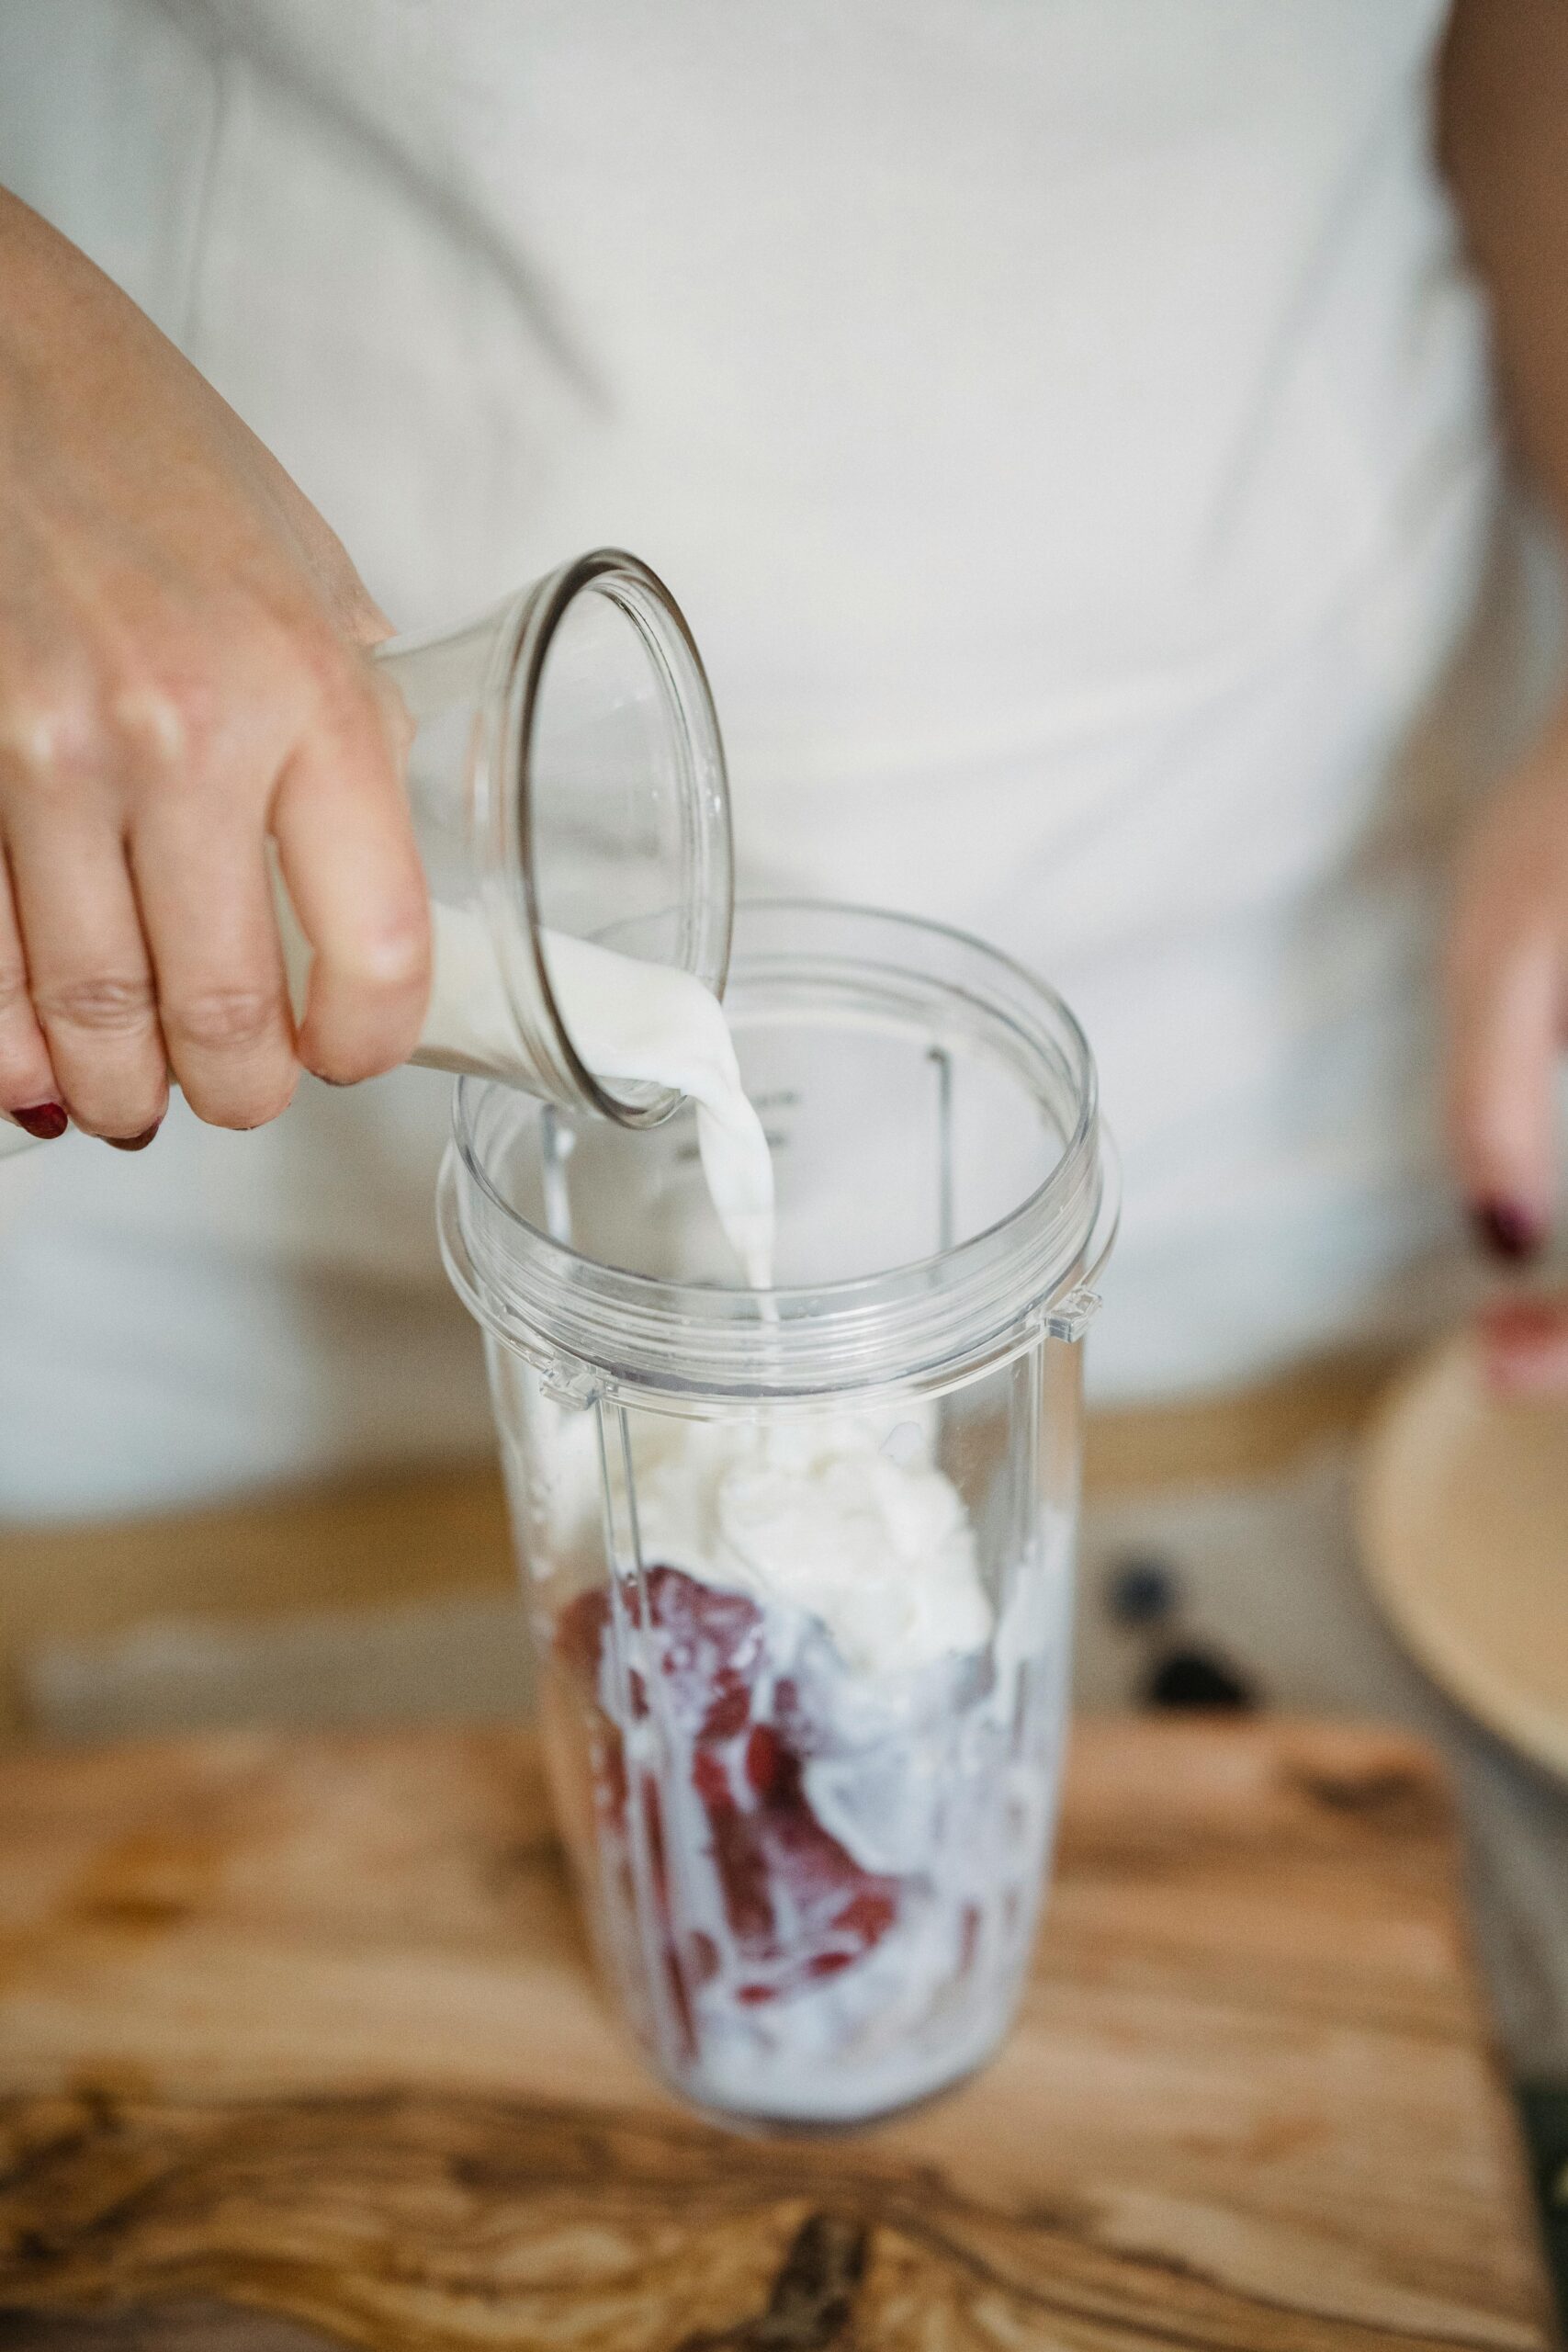
2. The smoothie is your workhorse
Smoothies are the single most reliable way to get kefir into a kid every day. Frozen banana, frozen berries, and a generous pour of plain kefir blended together tastes like a milkshake, not a probiotic drink. The sweetness of the fruit completely covers the tang of the kefir.
Our go-to recipe (the one my boys actually request):
- 1 cup plain whole-milk kefir (homemade — see below)
- 1 frozen banana
- 1/2 cup frozen berries (strawberries, blueberries, or a mix)
- 1 tablespoon raw honey or maple syrup
- Optional: a handful of spinach — they will not taste it
Blend, pour, done. Takes 90 seconds. Both kids drink it without commentary now. And the spinach trick still works — even at 13.
3. Bake it into pancakes and muffins
Replace the milk or buttermilk in any pancake, waffle, or muffin recipe with kefir. The acidity reacts beautifully with baking soda, so your pancakes turn out fluffier than usual. And while heat does kill some of the live cultures, kefir baked into pancakes still delivers a real dose of nutrients and the dead bacteria still have postbiotic benefits.
The kids never know. Pancakes are pancakes. This is the easiest stealth move in the playbook.
4. Freeze it into popsicles
Kids will eat anything if it’s a popsicle. Blend plain kefir with fruit and a small drizzle of raw honey, pour into popsicle molds, freeze for 4-6 hours. Done.
The frozen format makes the tang almost undetectable, and you get a cold treat that’s actually loaded with probiotics. We do strawberry-banana and blueberry-vanilla on rotation in the summer. They don’t realize it’s anything other than a normal popsicle.
5. Let them be in charge of the recipe
Kids who help make their own food are dramatically more likely to eat it. Hand them the kefir, let them pick the fruit, let them push the blender button. Suddenly it’s their smoothie, not yours.
This sounds small. It is not small. The same drink that gets refused when I make it gets devoured when one of the boys made it himself.
6. Skip the dairy aisle entirely — we make our own
Walk down the dairy aisle and you’ll see flavored kefir in every color of the rainbow — strawberry, blueberry, peach, mango. They taste great. Kids will drink them with no fight at all. But here’s the thing: most of them are loaded with added sugar, and a lot of them contain artificial colors, natural flavors (a junk-drawer term that can mean almost anything), and gums.
Artificial dyes are a hard line in our house — they are reaction triggers for our kids, and I’m not negotiating on that ever, anywhere. So I made the call a long time ago: we don’t buy kefir. We make our own.
It sounds harder than it is. The whole process is a five-minute setup, a 24-hour wait on the counter, and a strain. That’s it. We do it on autopilot now and it’s the cheapest, cleanest, most potent kefir money can’t buy. Homemade kefir contains way more probiotic strain diversity than anything on a grocery shelf, and we get to decide exactly what milk goes in.
If you’re new to making your own, I walked through the entire setup — what you need, the step-by-step, fermentation tips, how to keep your grains alive — in a separate post:
→ Homemade Kefir: The Easiest Daily Probiotic You’re Not Making Yet [See Full Recipe Here]
Once you have your grains and a routine going, you’ll never look at the dairy aisle the same way.
7. Make it routine, not optional
Once kefir becomes a daily thing — same time, same way, every morning — it stops being a debate. My boys don’t think about it any more than they think about brushing their teeth. It’s just what we do.
But that only works if you’re consistent. If kefir shows up on Tuesday and disappears for ten days, every reintroduction starts the negotiation over again. Pick a spot in the day, pick a format that works, and stick with it.
How We Make Our Own Kefir (The Quick Version)
Since we just talked about why we don’t buy kefir at the store, here’s the short version of how we make ours. The full breakdown — including supply list, exact fermentation tips, raw milk notes, and how to keep your grains alive — is in our Homemade Kefir post.
The basics:
- Get kefir grains. You buy them once. They keep multiplying forever.
- Put a few tablespoons of grains in a glass jar. Pour whole milk over them (we use raw — pasteurized works fine, just not ultra-pasteurized).
- Cover with a paper towel, secure with a rubber band, and leave on the counter out of direct sunlight for about 24 hours.
- Strain through a plastic strainer (no metal — kefir grains don’t like it). The liquid is your kefir. The grains go back into the jar with fresh milk to start the next batch.
That’s the whole thing. We’ve been doing it this way for years and it’s a five-minute commitment per batch. The kids drink it daily, we never run out, and we never have to read another suspicious label in the dairy aisle.
If you want the full step-by-step with photos, troubleshooting, and exact ratios — read the full Homemade Kefir post. [Full Recipe Here]
If You’re Not Ready to Make Your Own (Yet)
I get it. Fermenting anything sounds like a project, and you might not be there yet. That’s fine — progress over perfection. Some store-bought kefir is a lot better than no kefir.
If you’re going to buy it, here’s how to buy smart so you don’t end up with sugar water in disguise.
What to look for on the label:
- Two ingredients: milk and live cultures. That’s it.
- Whole milk — never low-fat or fat-free. Kefir is meant to be a whole-milk food, and the fat helps your body absorb the nutrients.
- Organic if you can swing it. If not, prioritize whole milk and clean ingredients first.
- No flavors, no fruit added, no sugar listed.
- No carrageenan, gellan gum, or other thickeners.
- No artificial colors. (Strawberry kefir is almost always Red 40 in disguise.)
The brand I recommend:
If you’re going store-bought, I have two brands I trust. My top pick is Maple Hill 100% Grass-Fed Plain Kefir — grass-fed milk, clean ingredient list, no flavors, no thickeners, no junk. It’s premium-priced compared to other store-bought kefirs, but it’s the closest thing to homemade quality you’ll find on a shelf. Worth every penny if your store carries it.
Look for Maple Hill in the refrigerated dairy section at Whole Foods, Sprouts, or larger natural-leaning grocery chains. The plain version is what you want — they don’t make a flavored version, which is part of why I trust them.
My second go-to is Kalona SuperNatural Organic Whole Milk Kefir. Kalona is a small dairy cooperative I’ve trusted for years across multiple products — their milk, butter, and yogurt are all clean. Their kefir is the same standard: organic, whole milk, simple ingredient list, no junk.
Kalona is sometimes easier to find than Maple Hill, depending on where you live. Check the refrigerated dairy section — Whole Foods, Sprouts, Hy-Vee, and many natural-leaning grocery chains stock it.
If Maple Hill or Kalona aren’t available:
Some other brands worth checking out — read every label, and stick to the plain whole-milk version of any of these:
- Lifeway Organic Plain Whole Milk Kefir — widely available. Clean enough in the plain organic version. Avoid their flavored or low-fat versions.
- Nancy’s Organic Plain Whole Milk Kefir — solid, often found at natural food stores.
- Local or regional dairies — sometimes the cleanest option of all. Always check the label.
What to skip (no matter how cute the bottle is):
- Anything labeled “strawberry,” “blueberry,” “peach,” or any other flavor — almost always has added sugar and often artificial colors.
- Low-fat or fat-free versions — you lose the nutritional benefits and they often add gums or thickeners to compensate for the texture.
- Anything with more than two ingredients beyond milk and cultures.
- Pasteurized after fermentation (some brands do this — it kills off the live cultures, which defeats the entire point).
Honest reality: even the best store-bought kefir has fewer probiotic strains than homemade and costs significantly more per serving. But “good enough” store-bought today beats “no kefir” while you decide. If you want to switch to homemade later, the grains are inexpensive and the process is genuinely easy. We just want kefir on your kid’s plate — wherever it comes from.
First Steps You Can Take This Week
If you’re starting from zero, here’s the order I’d actually do this:
- Day 1: Pick your starting point. Either order kefir grains online (the cheaper, more potent path) OR pick up Maple Hill or Kalona plain whole-milk kefir from the store (faster start, slightly less probiotic punch).
- Day 2: Stock up for the smoothie — frozen banana, frozen berries, raw honey.
- Day 3-5: Make the smoothie for breakfast. Use frozen banana to mask the tang. Don’t tell the kids it has kefir in it. See what happens.
- Day 6-14: Make it daily. Build the routine before you change anything.
After two weeks of daily kefir in some form, you’ll have a kid who doesn’t think twice about it. That’s the whole goal.
Real Talk on What to Expect
A few things nobody warns you about when you start adding fermented foods to a kid’s diet:
- Mild gas or bloating in the first week is normal. Their gut is recalibrating. It passes.
- Don’t expect overnight miracles on “behavior” or “focus.” Gut health changes happen slowly. The win is the long-term foundation, not next Tuesday.
- Pickier kids might need 4-6 weeks of consistent exposure before kefir becomes neutral. That’s normal too.
- If your kid has a serious dairy allergy, milk kefir is not the play. Try water kefir or coconut kefir instead.
And progress over perfection, mama. If they drink it 4 days a week and skip 3, that’s a win. We’re not chasing 100%. We’re chasing a daily input that’s actually doing something.
The Bottom Line
Getting kids to drink kefir isn’t actually about the kefir. It’s about making something genuinely good for them feel like a normal, easy part of their day — instead of a daily power struggle.
When we started GAPS, I had to figure this out the hard way. I had no choice; my boys’ gut healing depended on it. What I learned is that with the right format, the right pacing, a little bit of stealth, and a consistent supply of kefir on the counter (homemade or otherwise), even the most skeptical kid will end up drinking it without thinking about it. And once you build that habit, it sticks.
Start small. Use the smoothie. Read your labels — or skip them entirely and make your own. Stay consistent. Your kids’ guts will thank you for it — and you won’t be losing your mind every morning.
Have a kefir hack that works in your house? Drop it in the comments — I’m always looking for new ways to keep this going. And if this helped, share it with another mama who’s trying to figure out how to get more probiotics into her crew without buying another bottle of pills.
This post contains affiliate links. If you purchase through my links I may earn a small commission at no extra cost to you.
Ready to clean up your kitchen, bathroom, and cleaning cabinet — without the overwhelm? Our Clean Living Bundle gives you the cheat sheets and week-by-week guide to swap out the worst offenders at your own pace. No guilt, no perfection required — just real progress. [Get the Bundle]
For more real food and clean living resources, visit www.therealcleanliving.com
Disclaimer: This article is for informational purposes only and is not intended to diagnose, treat, cure, or prevent any disease. Always consult with your healthcare provider before making significant changes to your diet, especially if you have underlying health conditions. This article may contain affiliate links to products we recommend.