

by The Real Clean Living
www.therealcleanliving.com
This post contains affiliate links. If you purchase through my links I may earn a small commission at no extra cost to you.
Elderberry Syrup: How to Make It and Why Every Family Needs It
How It Started for Us
I never questioned store-bought cold remedies until GAPS forced me to read every label. When my kids started the GAPS protocol for food allergies, I realized how much sugar and fillers were hiding in seemingly innocent products. That’s when I started looking into everything we were putting in our bodies—and elderberry syrup was one of the first things that caught my attention.
We were looking for immune support that didn’t come loaded with junk, and elderberry syrup checked every box—simple ingredients, easy to make, and something I actually felt good about giving my kids.
What Are Elderberries and Why Do They Work
Elderberries—specifically Sambucus nigra—are dark purple berries packed with anthocyanins, the antioxidants that give them their color and much of their power. These aren’t just pretty berries with hype behind them; research shows elderberry can actually reduce the duration and severity of colds and flu symptoms.
The science is solid enough that even mainstream health providers are starting to take elderberry seriously. But you don’t need to understand the biology to benefit. What matters is that this is a simple, whole-food way to support your family’s immune system.
Why Homemade Beats Store-Bought
Walk into any health food store and you’ll see elderberry syrups in the supplement aisle. They look professional. They cost $15 to $25 for a small bottle. And most of them are loaded with corn syrup, added sugar, fillers, and preservatives—the exact things you’re trying to avoid.
When you make it at home, you control every single ingredient. One batch costs a few dollars. It tastes better. It lasts for weeks. And you can make exactly as much—or as little—as your family needs.
If you’re not a DIY person — or you just want something on hand for the weeks you don’t have time to make a batch — Earthley’s Elderberry Elixir is the store-bought version I actually trust. Clean ingredients, no added sugar, no fillers, and it’s available in an alcohol-free version that’s safe for kids 6 months and up. You can grab it here.
What You Need
| Ingredient | Amount |
| Dried elderberries | 1 cup |
| Filtered water | 3 cups |
| Fresh grated ginger (or 1 tsp dried) | 1 tablespoon |
| Cinnamon | 1 teaspoon |
| Whole cloves | ½ teaspoon |
| Raw honey (added after cooking) | 1 cup |
Step by Step Instructions
1. Combine the berries and spices
In a medium pot, combine 1 cup dried elderberries, 3 cups filtered water, fresh grated ginger, cinnamon, and cloves. Don’t skip the ginger and cinnamon—they add warmth and depth of flavor.
2. Bring to a boil
Place the pot on the stove over medium-high heat. Bring the mixture to a boil, stirring occasionally. You’ll see the berries start to plump up and the liquid will deepen in color.
3. Simmer for 45 minutes to 1 hour
Reduce heat to low and let it simmer gently. You want the liquid to reduce by about half. This concentrates the medicinal properties and creates a richer syrup. Stir it every 10 minutes or so—you don’t need to stand over it, but keep an eye on it.
4. Cool completely
Remove from heat and let the mixture cool until it’s warm but not hot. This is important for the next step. If it’s still steaming, you’ll destroy the beneficial properties of the honey.
5. Strain through cheesecloth
Pour the mixture through a fine mesh strainer or cheesecloth into a clean bowl, pressing the berries gently to extract all the liquid. You can discard the solids (or add them to compost). What you keep is liquid gold—or rather, liquid amber.
6. Add raw honey
Once the syrup has cooled enough to touch (around room temperature), stir in 1 cup of raw honey until fully combined. Raw honey contains enzymes and beneficial compounds that heat destroys, so this step matters. Do not give honey to children under 1 year old.
7. Store in a glass jar
Pour into a clean glass jar with a tight-fitting lid. Store in the refrigerator. Your elderberry syrup is now ready to use.
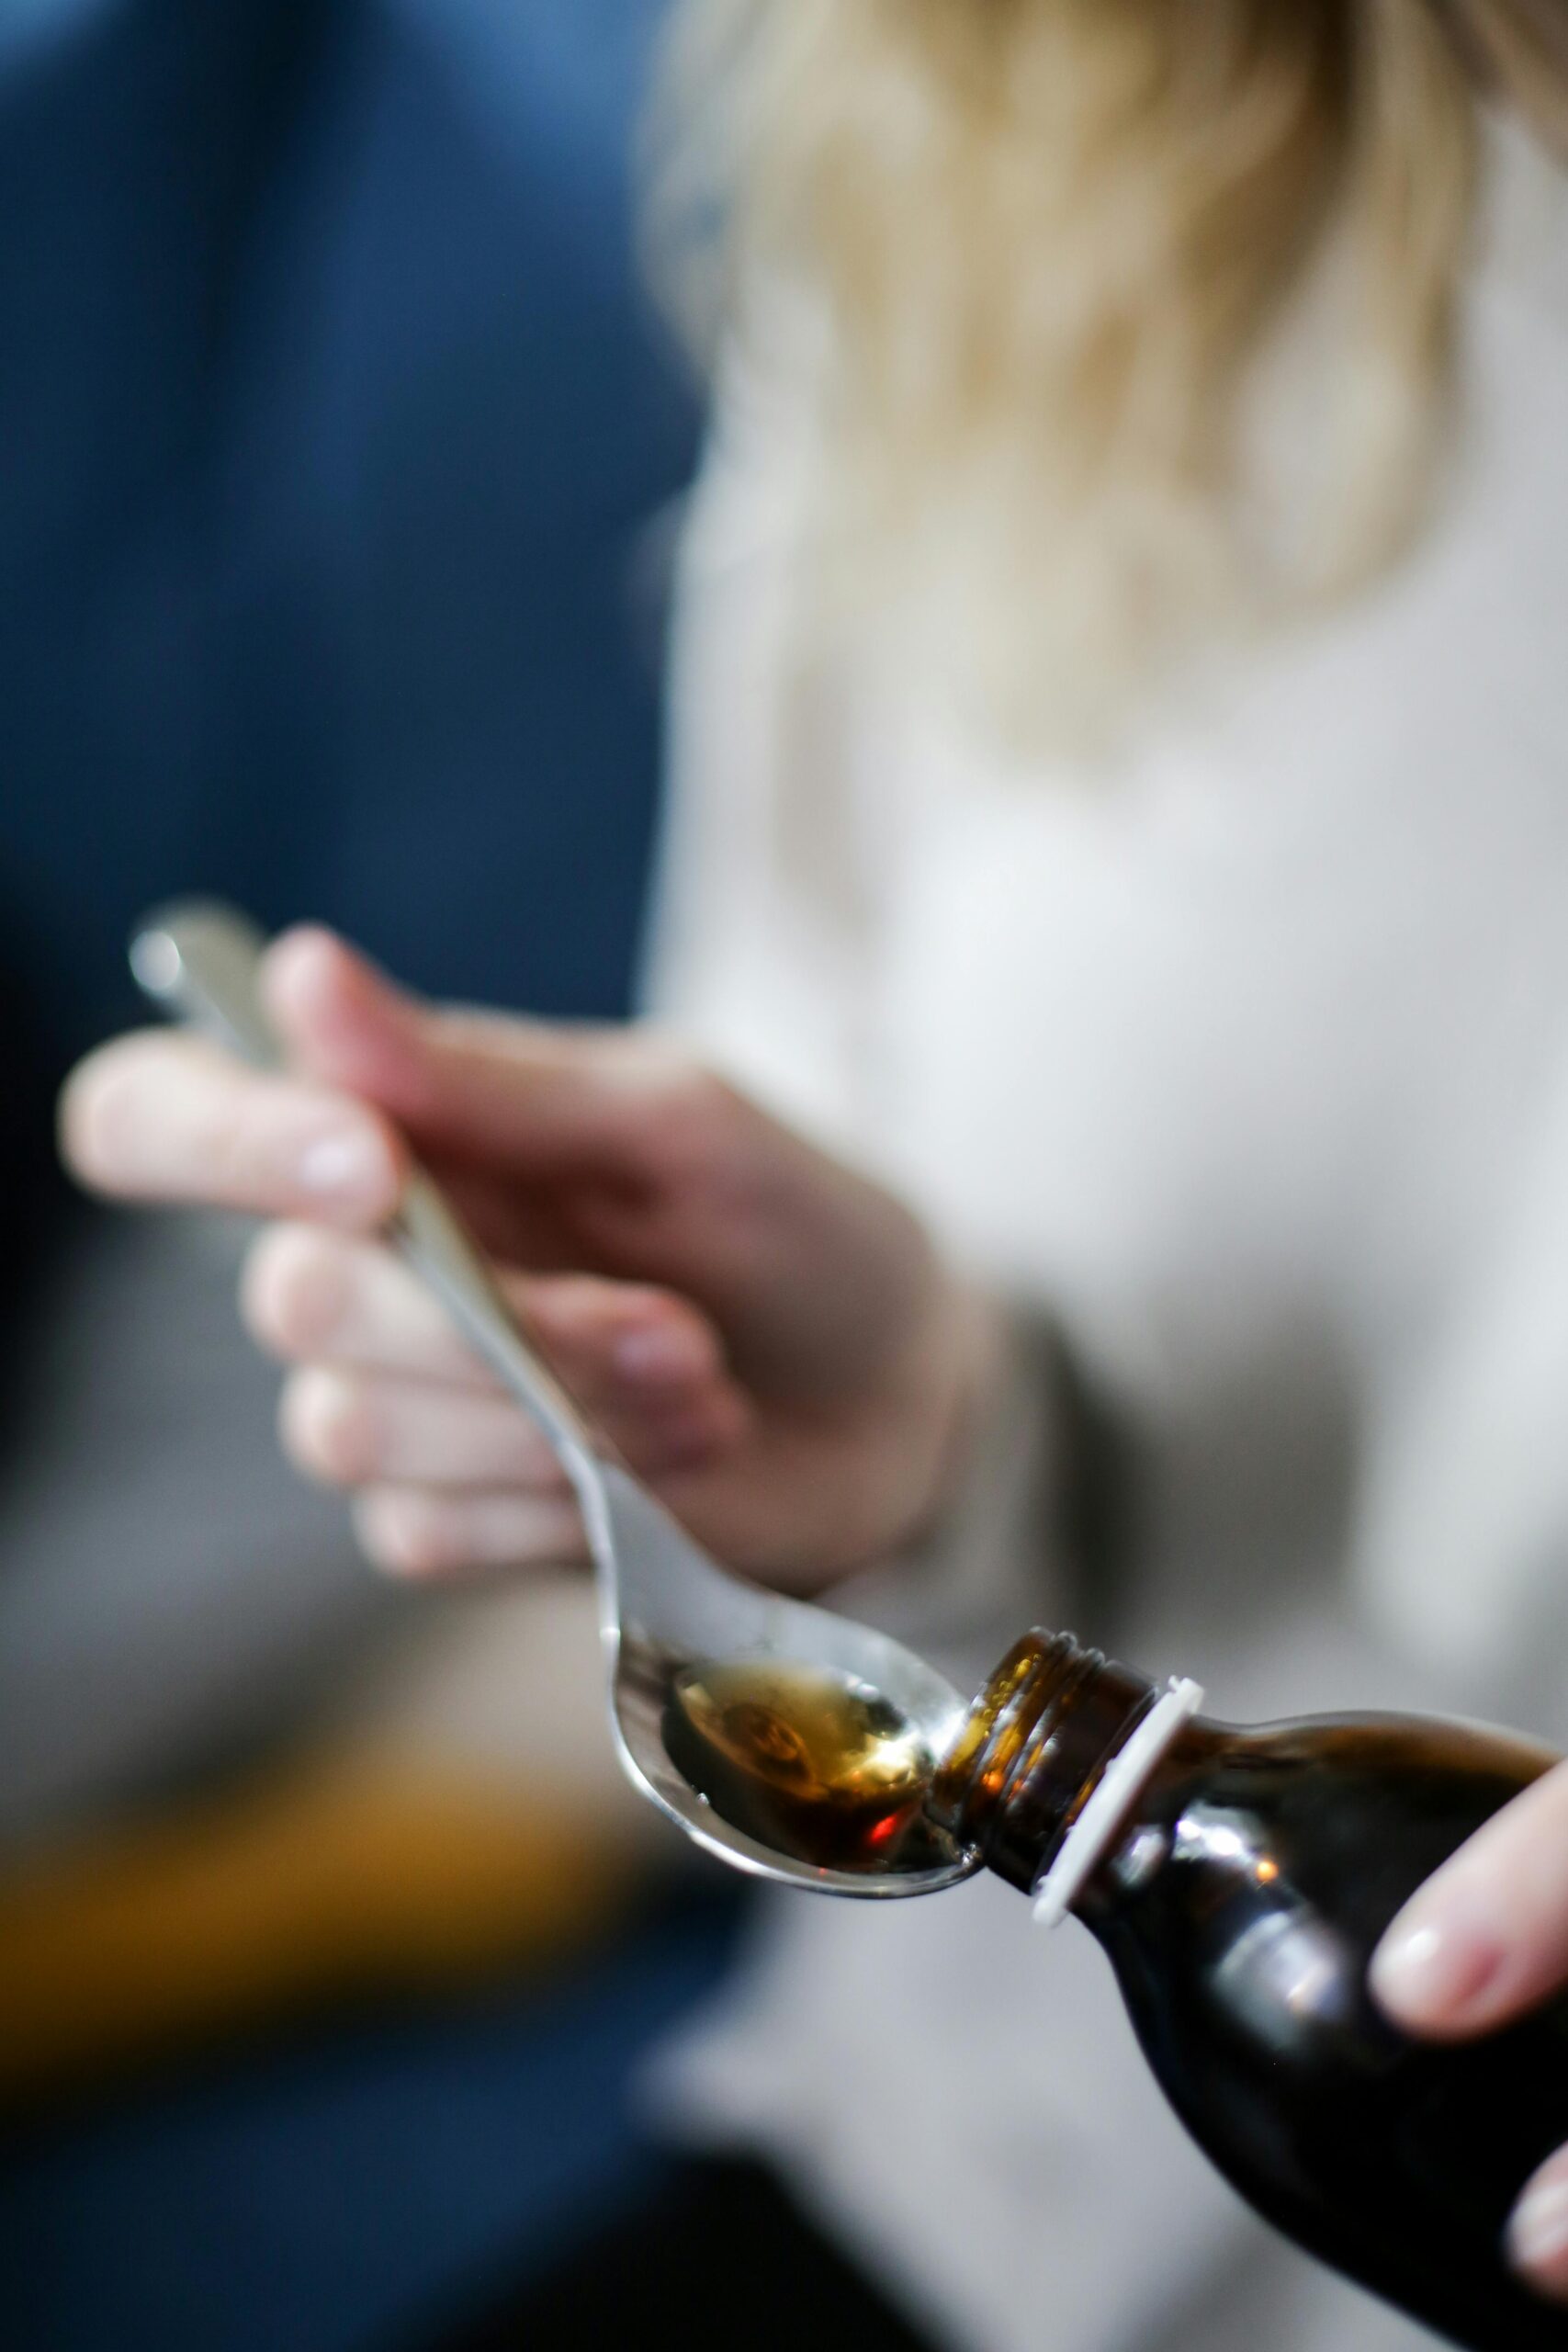
Dosing Guide
| Age/Group | Daily Maintenance | When Sick |
| Adults | 1 tablespoon | Every 2–3 hours |
| Kids (ages 2–12) | 1 teaspoon | Every 2–3 hours |
| Under age 2 | Consult pediatrician | Consult pediatrician |
Storage and Shelf Life
Your homemade elderberry syrup will last 2 to 3 months in the refrigerator when stored in a sealed glass jar. If you want to store it longer, pour the cooled syrup into ice cube trays and freeze. Pop out the frozen cubes and store them in a freezer bag—they’ll last for months. When you need a dose, just thaw or dissolve a cube in warm water.
When to Take It
Some families take elderberry daily year-round as maintenance. Others wait for cold and flu season to start taking it regularly. At the first sign of illness—a tickle in the throat, fatigue, sniffles—swap your maintenance dose for a higher frequency and take it every 2 to 3 hours. The sooner you start, the more likely you’ll shorten the duration or severity of symptoms.
The Bottom Line
You don’t need fancy equipment. You don’t need to be an herbalist. You don’t even need to have made anything from scratch before. Elderberry syrup is one of the simplest, most effective things you can make for your family—and one batch lasts for weeks.
If this feels like something worth trying, start with one batch. See how your family responds. Progress over perfection—if you only make it twice a year, that’s still better than buying the store version. And if you get the rhythm down and make it regularly, even better. Either way, you’re creating something real for your family, and that’s what matters.
For more recipes and resources on real clean living, visit www.therealcleanliving.com
This article is for informational purposes only and is not intended as medical advice. Always consult with your healthcare provider before starting any supplement, especially for children or if you are pregnant, nursing, or taking medications. The Real Clean Living is not responsible for any actions taken based on the information provided.
Ready to clean up your kitchen, bathroom, and cleaning cabinet — without the overwhelm? Our Clean Living Bundle gives you the cheat sheets and week-by-week guide to swap out the worst offenders at your own pace. No guilt, no perfection required — just real progress. [Get the Bundle]
Real Food. Clean Products. No Confusion.