

The Real Clean Living
This post contains affiliate links. If you purchase through my links I may earn a small commission at no extra cost to you.
A simple, real-food recipe for gut-healing fermented cabbage
I’ll be honest with you — the first time I made sauerkraut, I thought there was no way a head of cabbage and some salt could turn into something so powerful. It felt too simple. But that’s the beauty of real food. It doesn’t need a factory, a lab, or a long list of ingredients you can’t pronounce. It just needs time and trust in the process.
If you’re a mama trying to get more real, living foods into your family’s diet without overcomplicating things, homemade sauerkraut is one of the best places to start. It’s cheap, it’s easy, and it’s packed with gut-healing benefits. And honestly? We mostly drink the juice. That brine is liquid gold for your gut.
Why Sauerkraut Is a Gut Health Powerhouse
Fermented foods have been part of traditional diets for centuries, and for good reason. When cabbage ferments, naturally occurring lactobacillus bacteria convert the sugars into lactic acid. That lactic acid is what preserves the cabbage and creates an environment rich in beneficial probiotics — the kind your digestive system is craving.
Here’s what homemade sauerkraut brings to the table:
- Live probiotics that support digestion, immune function, and even mood. Unlike store-bought pasteurized sauerkraut, homemade is raw and alive.
- A powerhouse source of Vitamin C. Fermentation actually increases the bioavailability of Vitamin C in cabbage, making it easier for your body to absorb.
- Enzymes that aid digestion, helping your body break down and absorb nutrients from the other foods you eat.
- The brine (kraut juice) is probiotic gold. Even if your family isn’t into the texture of fermented cabbage yet, a small shot of the juice daily is an incredible way to support gut health naturally.
The key difference between homemade and store-bought? Most sauerkraut on grocery shelves has been pasteurized, which kills off all those beneficial bacteria. When you make it at home, you keep everything alive and working for you.
What You’ll Need
This recipe is beautifully minimal. No starters, no whey, no complicated setup. Just a few simple tools and two real ingredients.
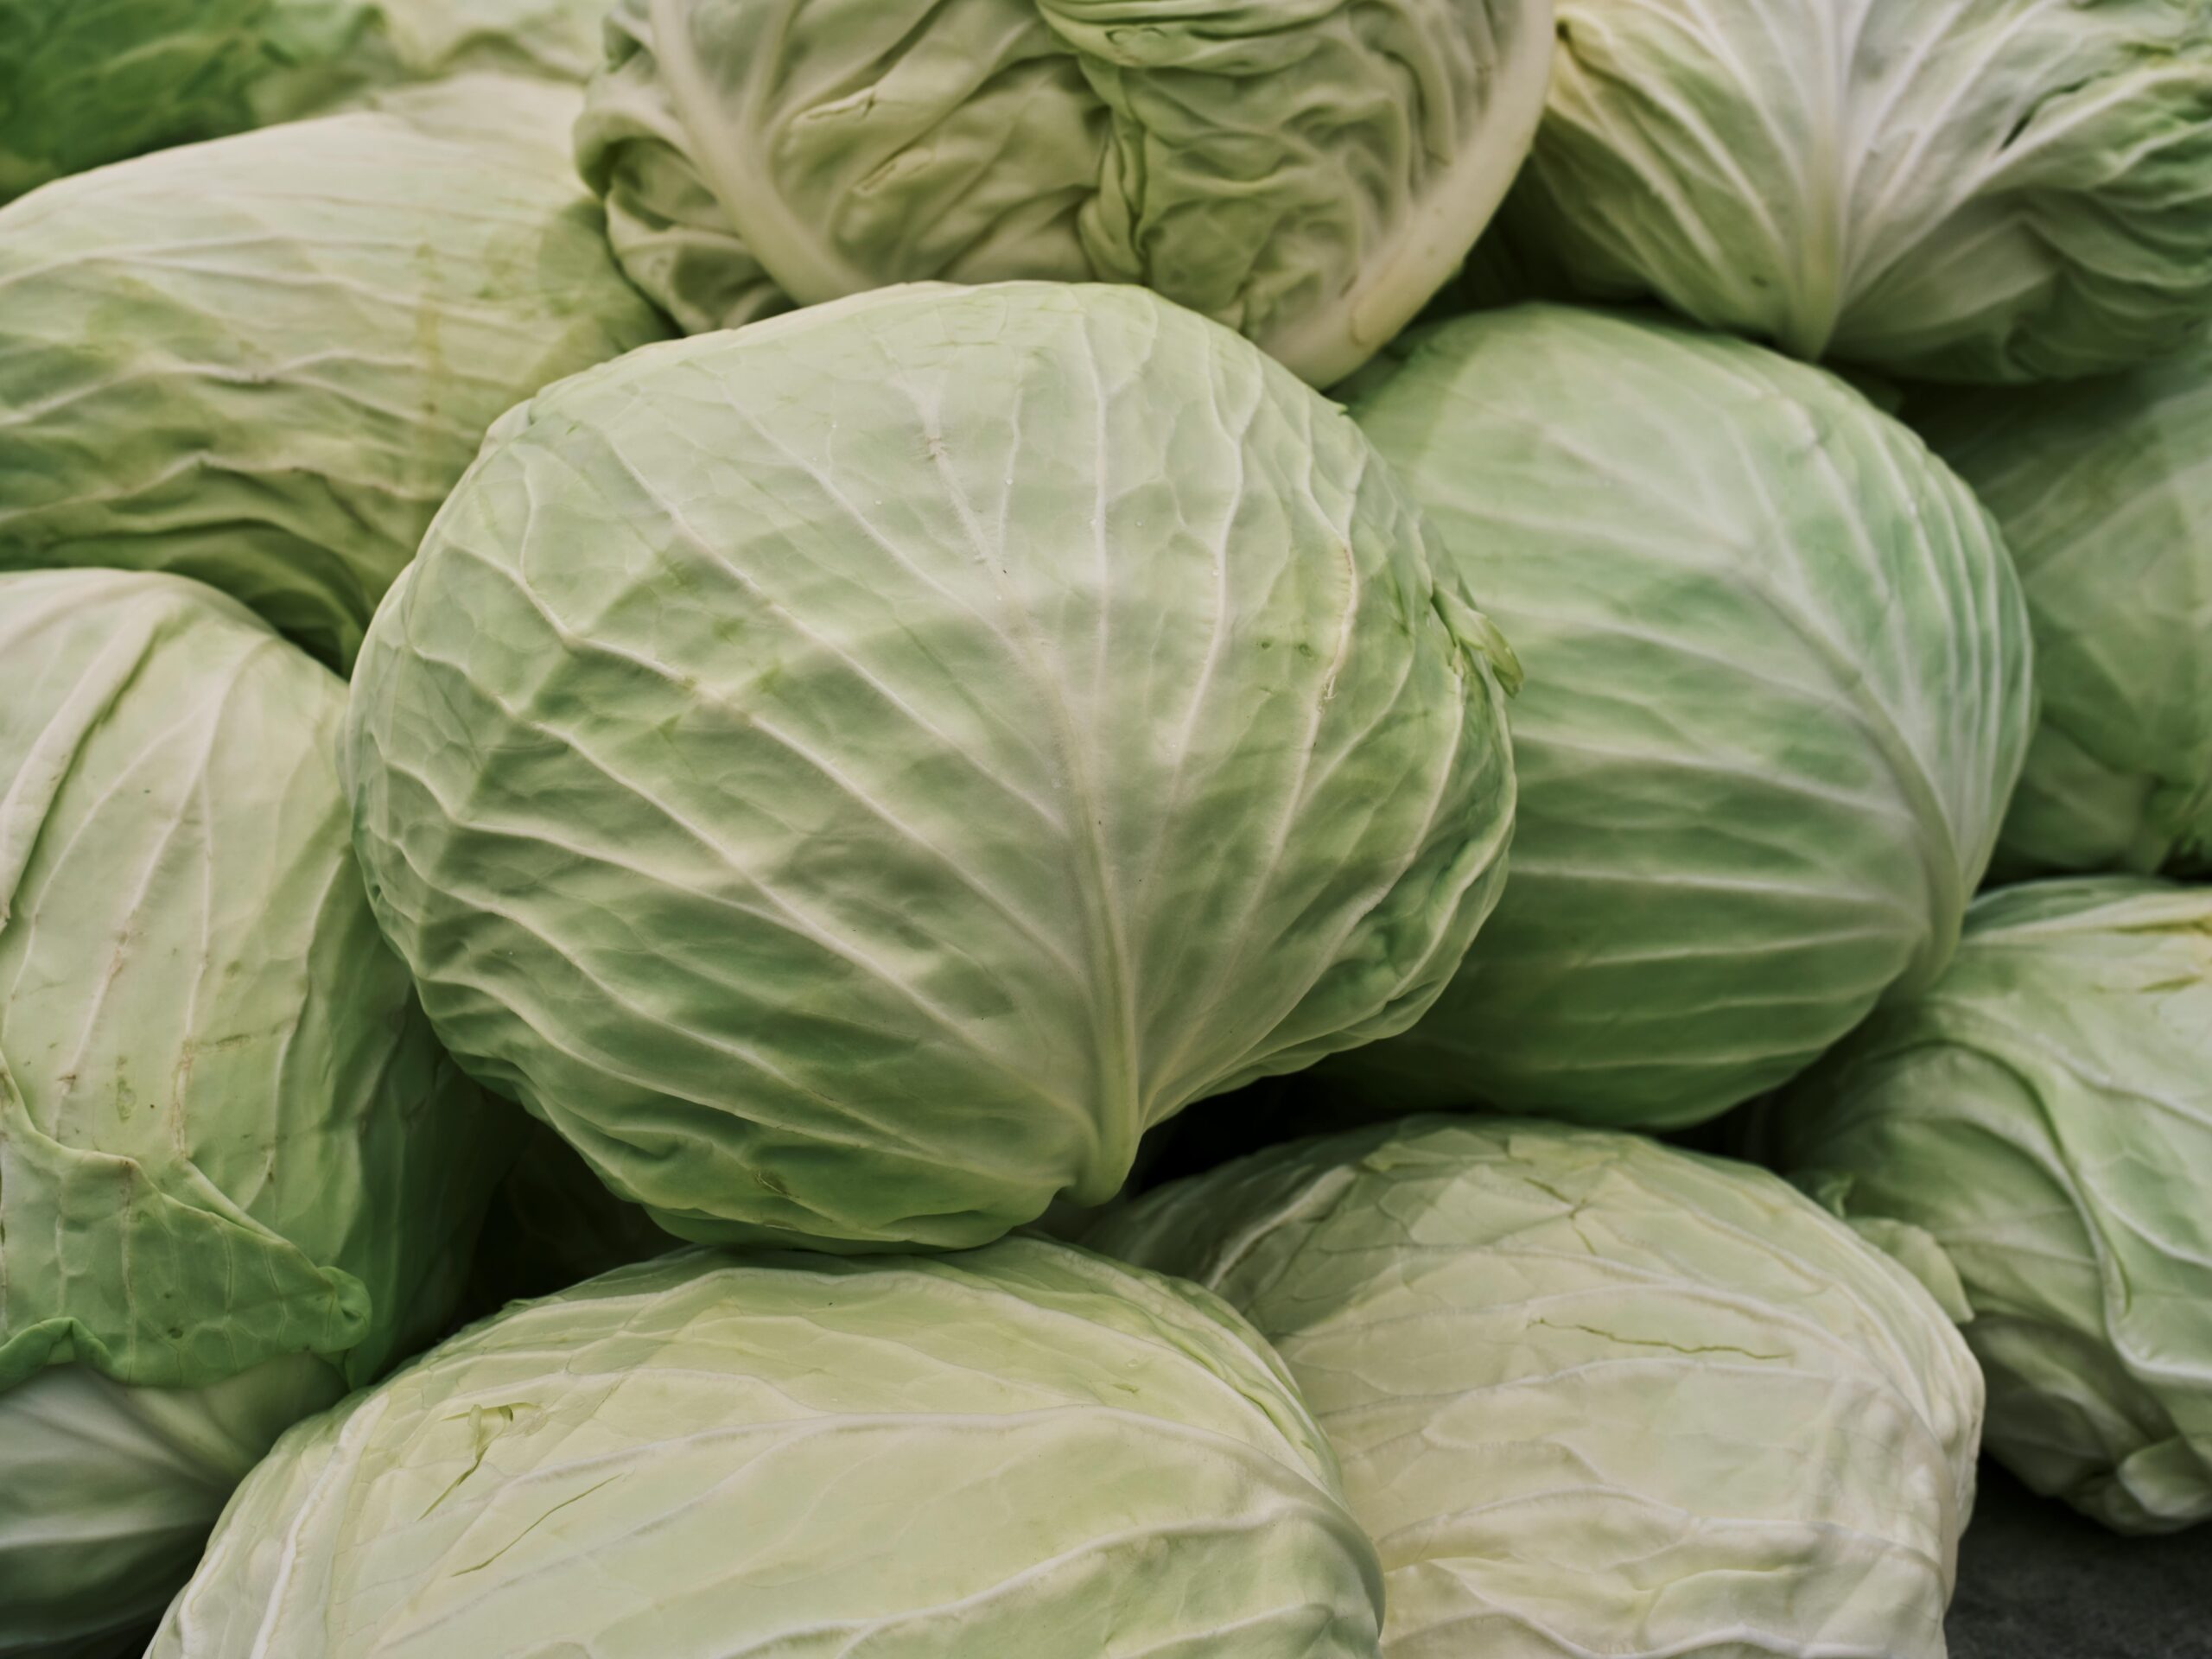
- Green or red cabbage (organic is best — you want clean, chemical-free leaves)
- Celtic sea salt (2% of the weight of your cabbage)
- A large glass bowl
- Large glass jars with airlock lids (wide-mouth mason jars with fermentation airlock seals work great)
- Glass fermentation weights
- Filtered water
How to Make Homemade Sauerkraut: Step by Step
Step 1: Prep Your Cabbage
Peel off the outer layers of the cabbage — you only want to work with the clean inner leaves. Set aside a few of those intact inner leaves. You’ll use them later to cover the cut cabbage in the jar and keep it from floating to the surface. Then slice the rest of the cabbage into thin strips.
Step 2: Weigh and Salt
Place your sliced cabbage in a large glass bowl and weigh it. Calculate 2% of that weight in Celtic sea salt and add it to the bowl. For example, if you have 1,000 grams of cabbage, you’ll use 20 grams of salt. Toss it lightly and let it sit, loosely covered, for 30 to 60 minutes. This gives the salt time to start drawing moisture out of the cabbage.
Step 3: Massage the Cabbage
With clean hands, work the salt into the cabbage by squeezing and massaging it. You want to draw out as much water as possible. The cabbage should start to soften and release its natural juices. You can do this once for a good 5–10 minutes, or repeat the process a few times with resting periods in between. You’ll know it’s ready when the cabbage feels soft and limp, and there’s a good pool of liquid in the bottom of the bowl.
Step 4: Pack the Jars
Transfer the cabbage into large glass jars, packing it down as tightly and compactly as you can. Push it down firmly — you want to eliminate air pockets. Once the jar is packed, take one of those reserved uncut cabbage leaves and lay it over the top of the shredded cabbage. This acts as a natural barrier to keep the smaller pieces submerged. Place a glass fermentation weight on top of the leaf.
Step 5: Add Water and Seal
Cover the cabbage with filtered water, making sure everything is submerged. Leave at least 1 inch of headroom at the top of the jar — fermentation produces gases and the liquid can expand. Repeat this process with as many jars as you need until all your cabbage is used up. Place the airlock lids on each jar. The airlock seal is key — it allows the carbon dioxide produced during fermentation to escape without letting any outside air back into the jar, which is what prevents mold.
Step 6: Ferment
Place the jars in a cool spot out of direct sunlight and let them sit for at least two weeks. Do not open them during this time. The airlock lids will do all the work — gas escapes out, but no air gets in. The bacteria need an anaerobic (oxygen-free) environment to do their work, and the airlock makes this foolproof. Leave the jars alone and let nature do its thing.
A Note on Safety
If you see any mold, throw it out. It is not safe to eat. Mold means something went wrong — likely the cabbage wasn’t fully submerged or air got in. Don’t try to scrape it off and save the rest. It’s garbage. Start over. Your gut health is not worth the risk.
Tips for Success
- Keep it submerged. This is the number one rule of fermenting. If cabbage is exposed to air above the brine, it will mold. The glass weight and uncut leaf are your best friends here.
- Use Celtic sea salt, not table salt. Table salt contains anti-caking agents and iodine that can interfere with fermentation. Celtic sea salt is mineral-rich and clean.
- Go organic. Pesticides on conventional cabbage can inhibit the natural bacteria you’re trying to cultivate. Organic gives you the best shot at a strong ferment.
- Clean hands, clean tools. You don’t need to sterilize everything, but make sure your hands, jars, and bowl are clean. You want good bacteria thriving, not bad.
- Be patient. Two weeks is the minimum. Some people ferment for 4–6 weeks for a tangier, more probiotic-rich result. The longer it ferments, the more beneficial bacteria develop.
- Temperature matters. Aim for a cool room — around 65–75°F is ideal. Too warm and fermentation happens too fast and can go off. Too cold and it stalls.
How We Use It
Here’s the truth — we mostly use the juice. The kraut brine is loaded with probiotics and is an incredible source of naturally occurring Vitamin C. A small shot of sauerkraut juice in the morning is one of the simplest things you can do for your gut. It’s tangy, it’s potent, and your body will thank you for it.
Of course, the sauerkraut itself is wonderful too — on top of salads, alongside roasted meats, or just straight out of the jar. But if your family is still warming up to fermented foods, start with the juice. It’s an easy win.
Keep It Simple, Keep It Real
Making sauerkraut at home is one of those things that reminds you how little you actually need to nourish your family well. Two ingredients. A jar. Time. That’s it. No supplements, no fancy probiotic pills, no health food store markup. Just real food doing what it’s been doing for generations.
If you’re new to fermenting, sauerkraut is the perfect starting point. It’s forgiving, it’s hard to mess up (as long as you follow the basics), and the payoff for your family’s gut health is huge. Give it a try and let me know how it turns out.
This article is for informational purposes only and is not intended as medical advice. Always consult with your healthcare provider before starting any supplement, especially for children or if you are pregnant, nursing, or taking medications. The Real Clean Living is not responsible for any actions taken based on the information provided.
Ready to clean up your kitchen, bathroom, and cleaning cabinet — without the overwhelm? Our Clean Living Bundle gives you the cheat sheets and week-by-week guide to swap out the worst offenders at your own pace. No guilt, no perfection required — just real progress. [Get the Bundle]
Real Food. Clean Products. No Confusion.